Settings
Settings can be accessed from the menu by selecting File > Settings. The Settings menu contains four categories: General, Palettes, Audio, and Text.

Settings can be globally restored to default with the Restore Defaults button in the lower left corner.

Individual settings can be restored to their default with the circle arrow button beside the respective setting.
Note
Most settings will require reloading the application to take effect.
General
Theme
Default will select the default Qt theme for the operating system being used. For Windows, this is the Windows Vista style, and for Linux, this is the Fusion style. This typically gives a native look-and-feel consistent with the rest of the operating system.
Fusion will select the Fusion theme. On Linux, this is already the default. On Windows, this will enable a Dark Mode if turned on in Windows settings.
Default Radar Site
Choose which radar site will load automatically upon opening the application. The map will also be centered over the selected radar site.
Grid Width and Height
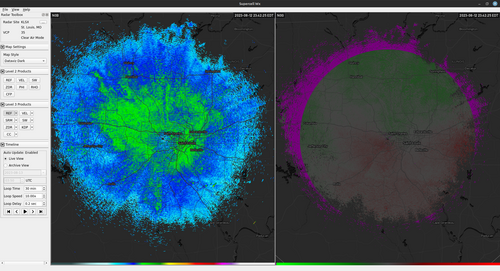
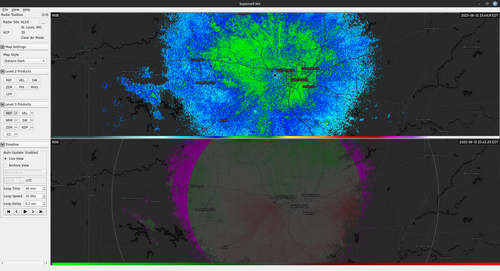
These settings allow multiple radar products to be viewed simultaneously. Changing Grid Width will create panes side by side, while Grid Height will create panes top and bottom. The maximum value for both is two.
Layout with a Grid Width of 2 and a Grid Height of 1
Layout with a Grid Width of 1 and a Grid Height of 2
Layout with a Grid Width of 2 and a Grid Height of 2

Map Provider
Select the provider for the map underlays. Currently Mapbox and MapTiler are supported.
Note
The map types available on the Map Style dropdown in the Radar Toolbox will depend on the selected map provider.
Mapbox API Key
Input API key to be used when using Mapbox as the map provider
MapTiler API Key
Input API key to be used when using MapTiler as the map provider. The available API keys can be found on the account API Keys page
Default Alert Action
Changes what happens when selecting an alert in the Alerts panel.
Go (Default) - Switch to issuing radar site and pan map to location.
View - Open Alert to view text issued from NWS.
Update Notifications Enabled
Notify the user of updates to Supercell Wx.
Debug Enabled
Enables the Debug options menu.
Palettes
The map and radar display have multiple customization options, including color tables. The default color tables come from NOAA’s Weather and Climate Toolkit, but can be modified from the Palettes category in the Settings dialog. Color tables are compatible with the GRLevelX Color Table File Specification.
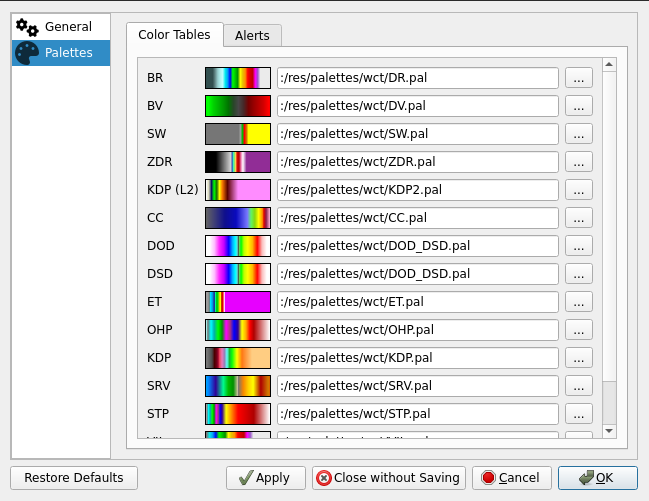
Additional color tables can be found at a number of sites, including:
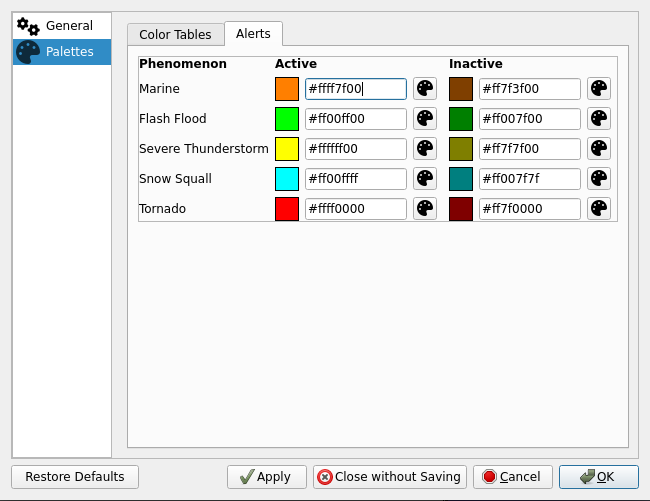
In addition to color tables, alert colors can also be modified. Use the text box to specify a color in ARGB hexadecimal format (#aarrggbb), or use the color picker to select a color.
Audio
Audio notifications can be selectively enabled for alerts from the Audio tab.
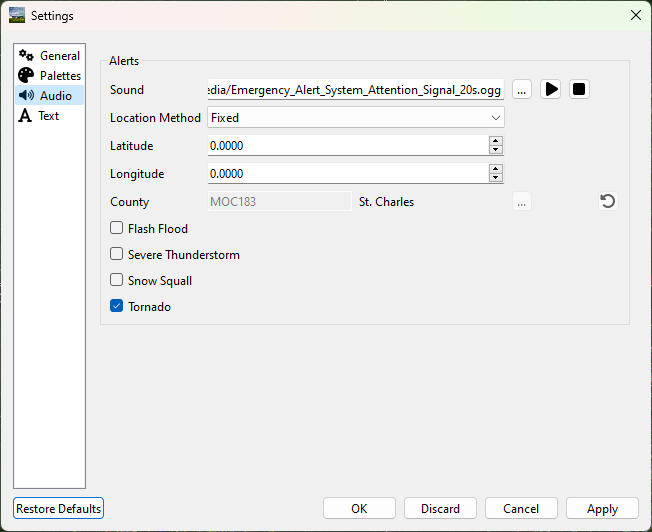
Sound
By default, the two-tone Attention Signal used by the Emergency Alert System is played when a new or updated alert occurs for the selected location. An alternate audio file can be selected and sampled using the buttons to the right of the file path.
Location Method
Fixed
The Fixed location method will allow the user to manually enter a latitude and longitude for alert audio notificatons.
Track
When using the Track location method, Supercell Wx will request location information from the operating system. This may result in the operating system notifying the user that Supercell Wx is using location information.
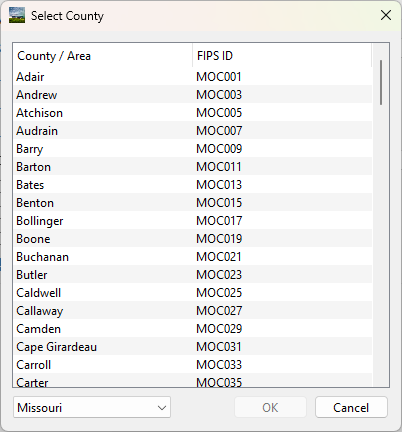
County
With the County location method, the user can select a county. Pressing the adjacent tool button will open a county selection dialog.
Text
Under the text menu, the user is given several different customization options to adjust the font and style to the user’s liking.
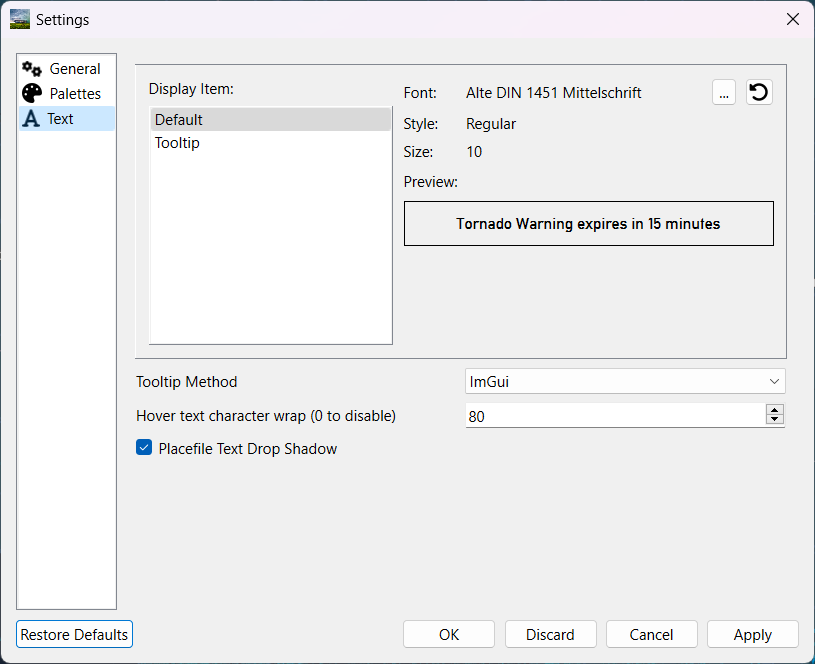
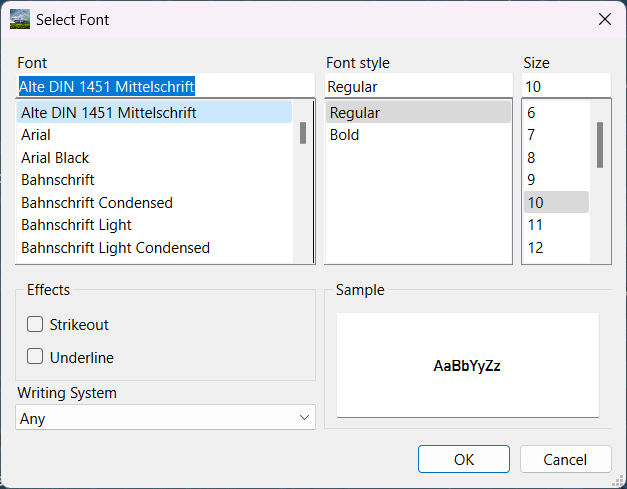
Choosing the font
The user can select the font they’d like to use by choosing either the default display item or the tooltip display item, and then hitting the 3 dots next to the font name.

Choose the font, font style, font size, effects and writing system
Tooltip method
The tooltip method allows the user to change the method used for which pop-ups are displayed. The user is also able to change the character wrap size if the text from placefiles appear to be too long on the user’s screen.
Tooltip methods

Character wrap and placefile text drop shadow
